
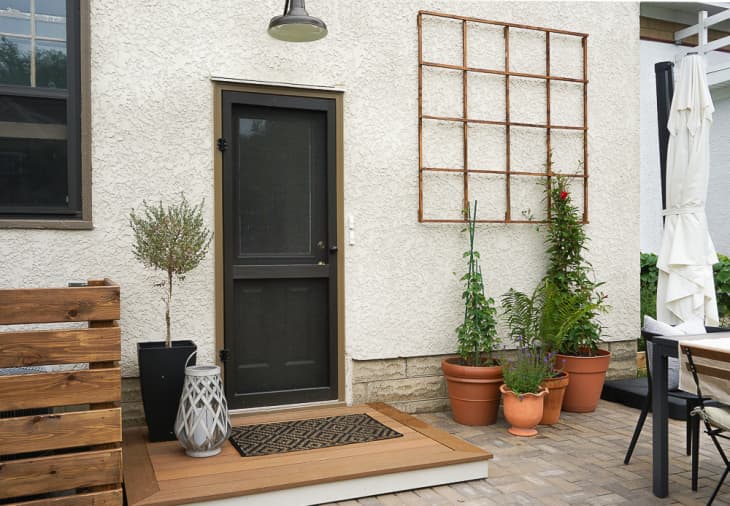
How To Build a Deck Over An Ugly Cement Stoop
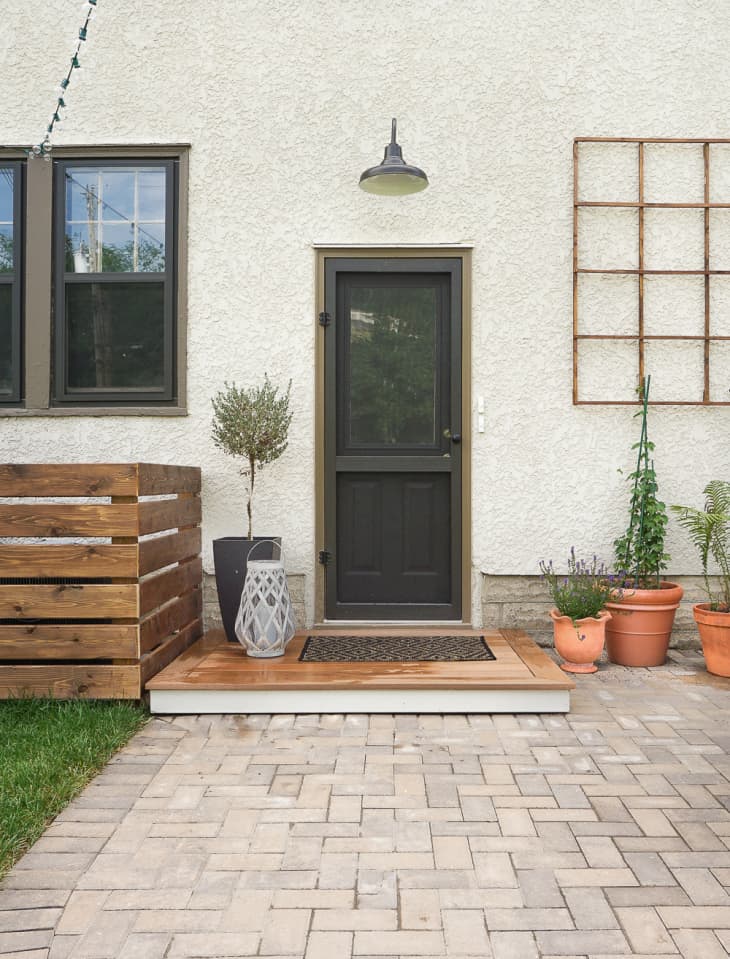
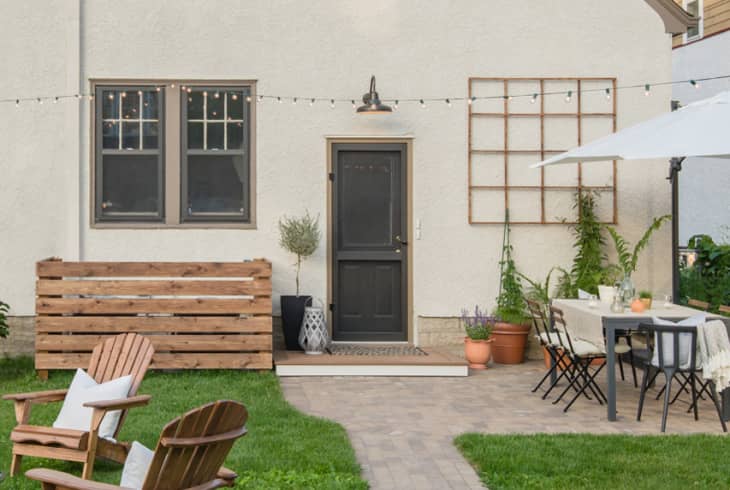
If like us, you have an old concrete stoop that has more than seen better days, rather than going through the hassle of tearing it out, why not give it a facelift? From concrete stains and epoxy coatings to a variety of enclosures, there are several ways to go about this. We chose a composite decking surround as we liked the low-maintenance factor and wood look. Read on for details on how we transformed our old, rough concrete stoop into a beautiful backdoor landing, and make sure to check out my helpful hints at the bottom!
What You Need
- Four 1” x 6” solid composite decking @ 16’ long. We used NewTechWood, Cortes Series in Peruvian Teak
- Three 2” x 4” treated lumber @ 8’ long
- Two 2” x 2” treated lumber @ 8’ long
- Two 1” x 6” treated lumber @ 8’ long
- 2.5” Galvanized screws
- 2” Galvanized trim head screws
- Mitre saw
- Table saw
- Circular saw (optional)
- Level
- Cordless drill
- Quart of exterior paint to match exterior home color
- Foam paint brush
- Speed square
- Pencil
- Large all-purpose nails for board spacing
- Shims
Instructions
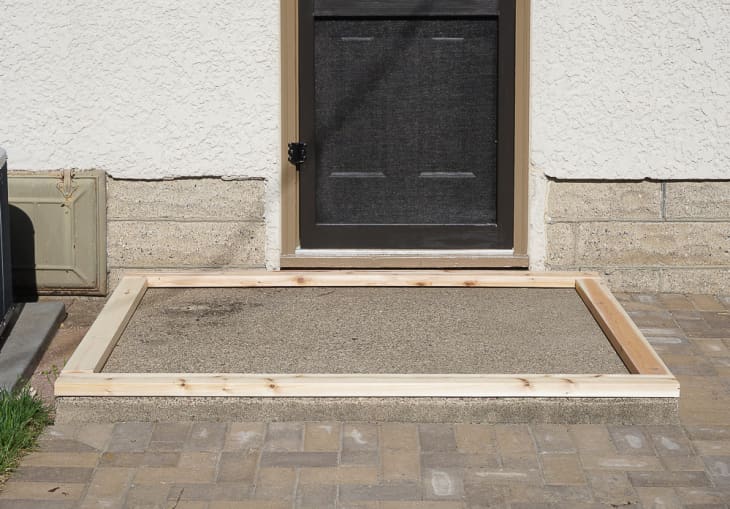
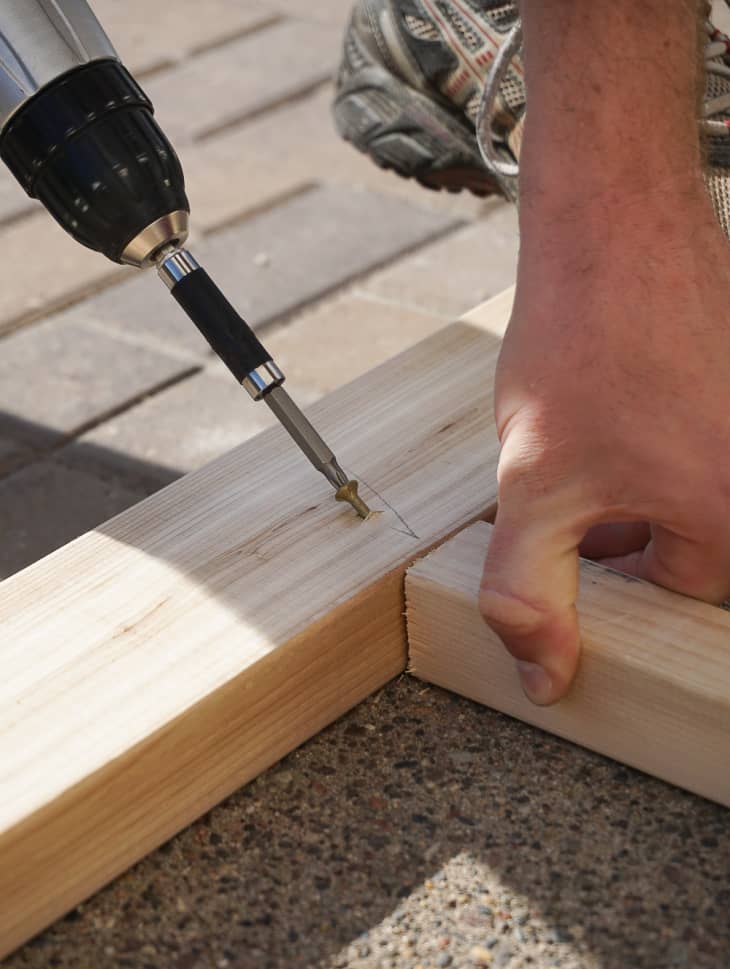
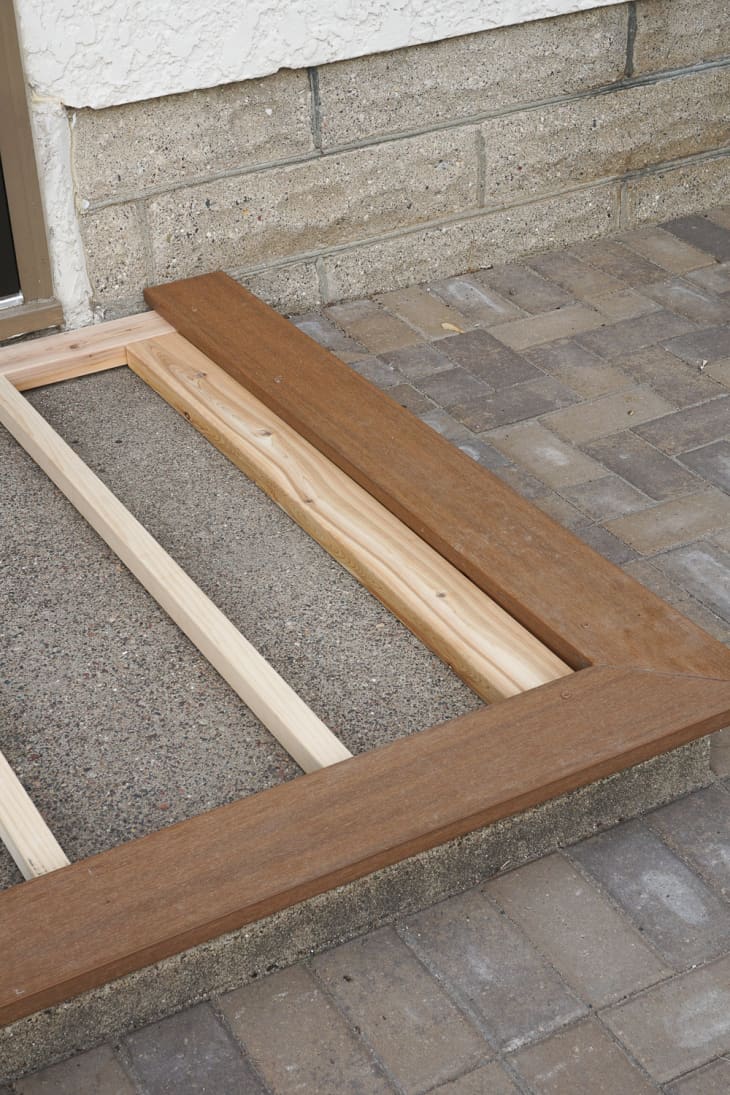
1. Create a rectangular frame of 2” x 4” treated lumber around the top perimeter of your stoop. Use a circular saw to make these cuts.
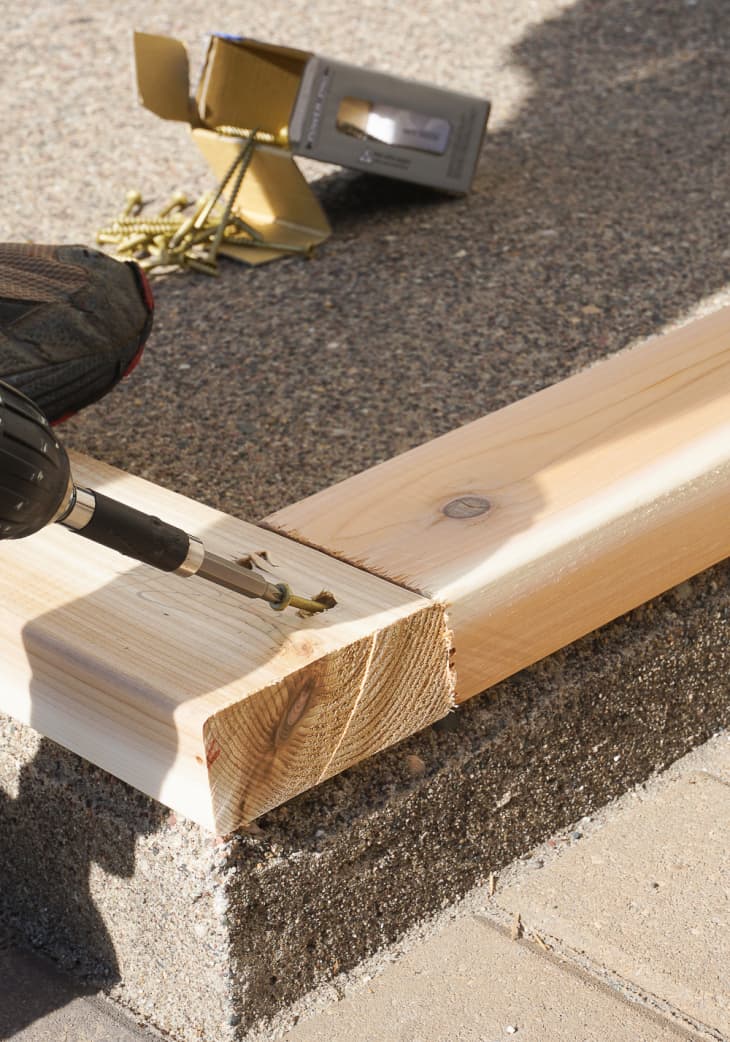
Then use a cordless drill to bury 2.5” galvanized screws at an angle to connect the boards to one another.
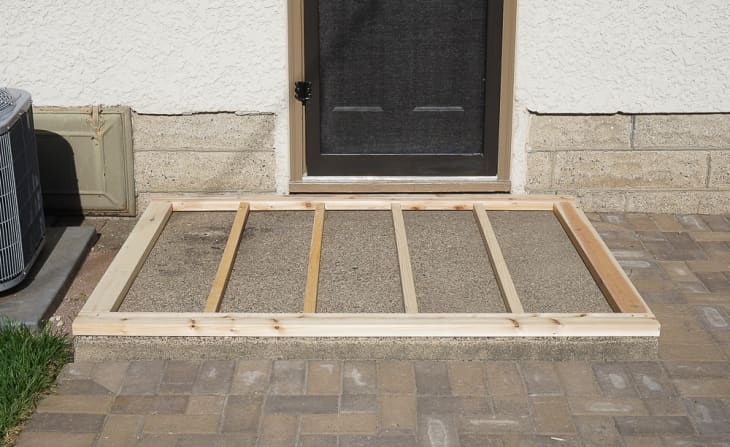
2. Next add equally spaced 2” x 2” supports inside the perimeter of the frame.
Attach to the larger frame with angled 2.5″ galvanized screws.
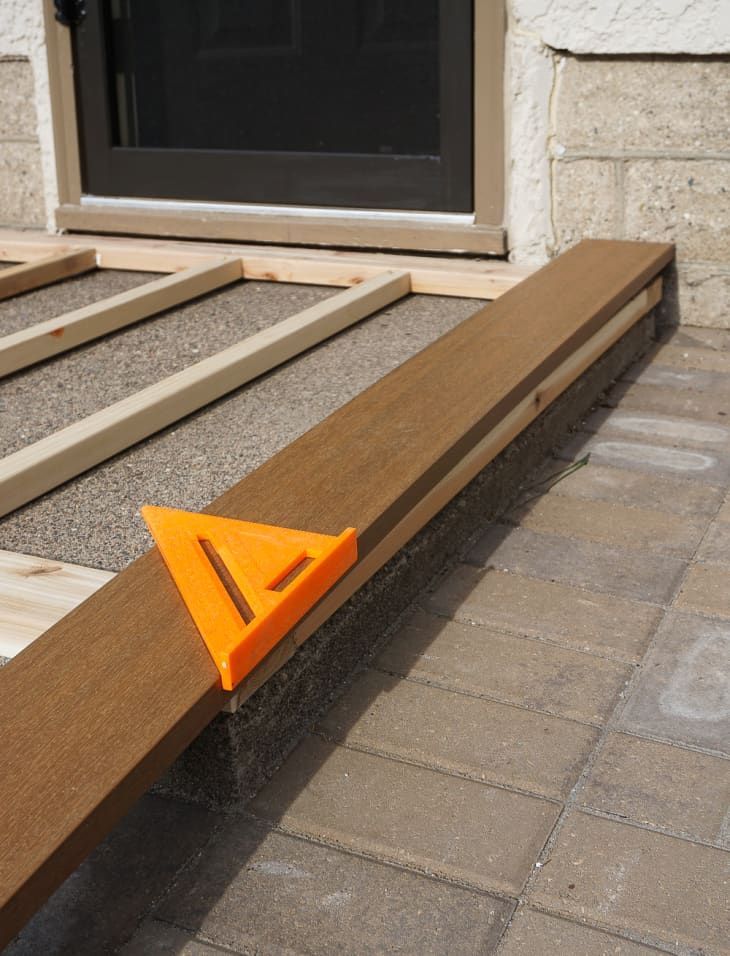
3. Calculate your desired overhang. We found it easiest to visualize if we physically laid a deckboard on the edge of the stoop. Make sure to account for the thickness of the riser board when calculating the overhang.
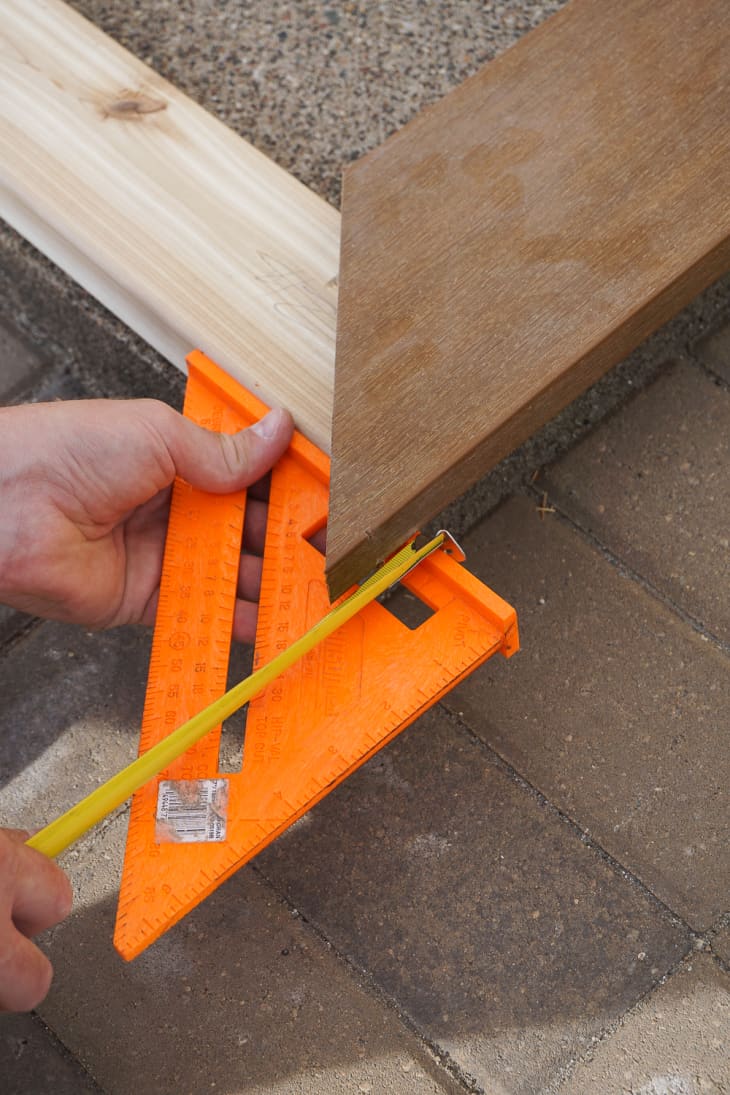
So, if your riser board is 1” thick, and you’d like the overhang to be 1.5”, measure 2.5” out from the front of the stoop, and this will be the longest point of your mitre cut.

4. Measure and mitre cut the left and right “border” boards first. Then cut the front “border” board with a mitre cut at each end. Use 2″ small-head galvanized screws to attach the “border” to the frame.
5. Next, depending on how much or little the deck boards overhang, you may need to add 2” x 4” framing boards for additional deck board support. Install these the same way you installed the 2” x 2” supports in Step 2.
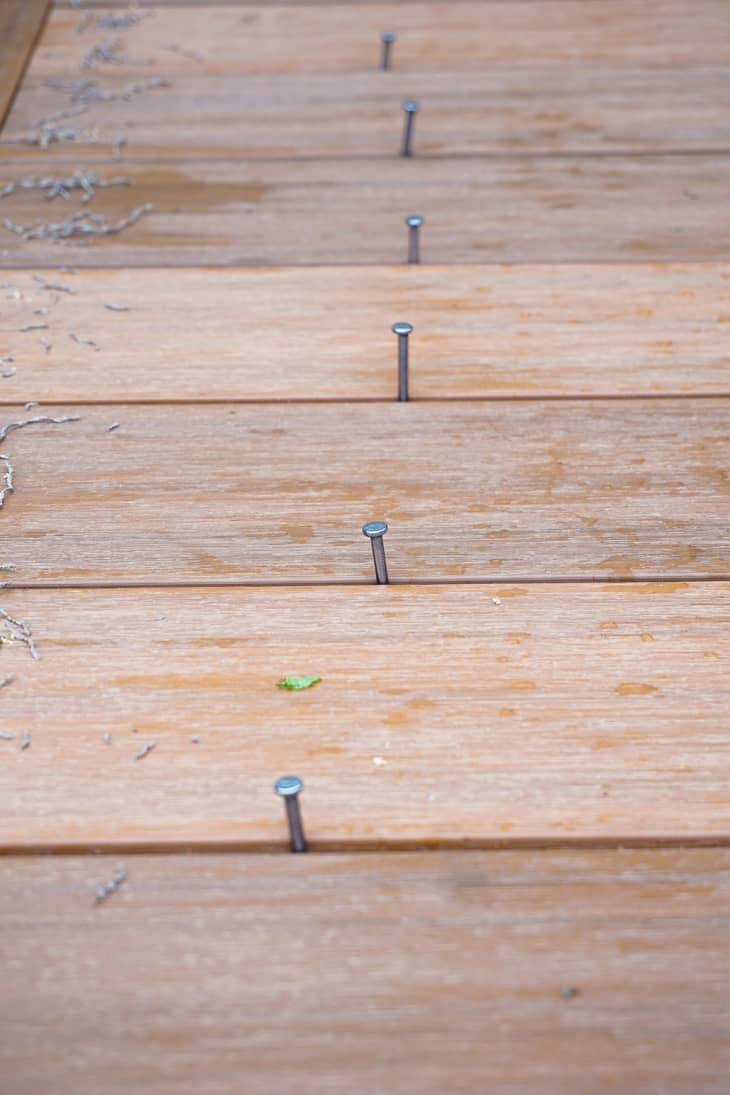
6. Now it’s time to add in the horizontal deck boards! Use a mitre or circular saw to square cut the boards down to the correct width, and space them out using large all-purpose nails.
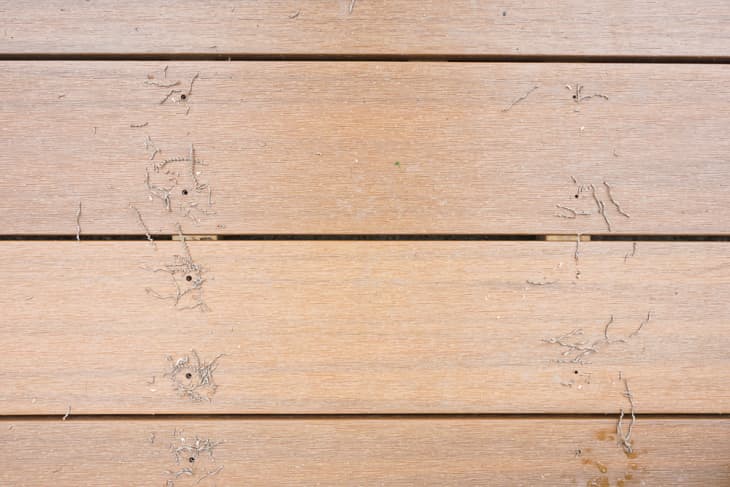
Tip: Once you have the boards laid out on the stoop, I’d highly recommend pre-drilling holes for the screws, as you’ll avoid a mushrooming effect around each screw. Double check the placement of your 2” x 2” framing supports, before drilling.
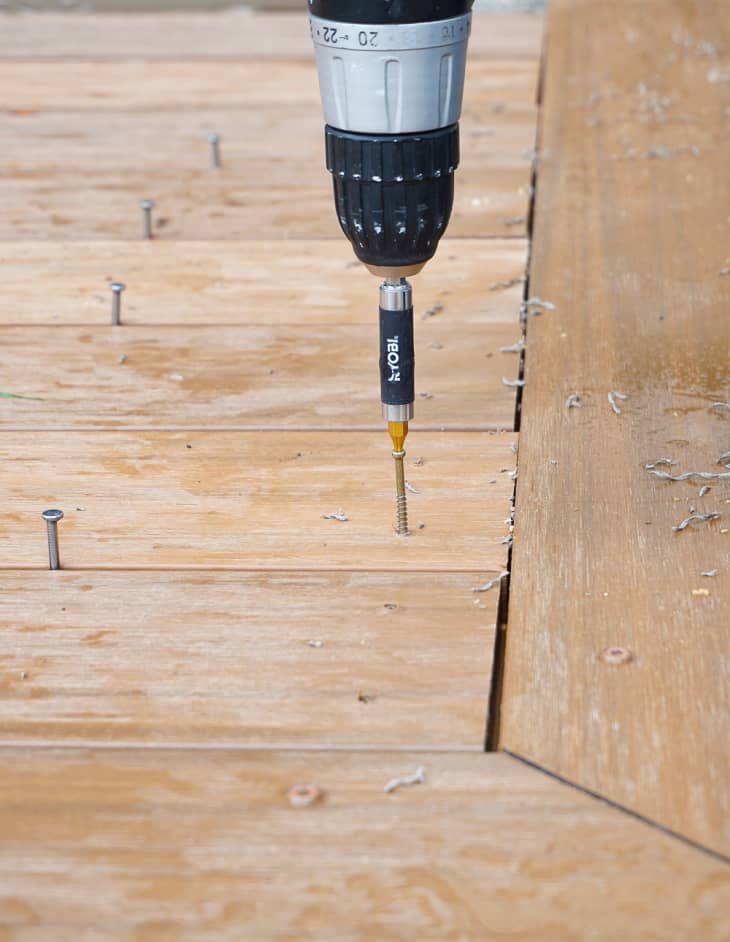
7. Then add your 2” screws in the pre-drilled holes to secure the boards into place.
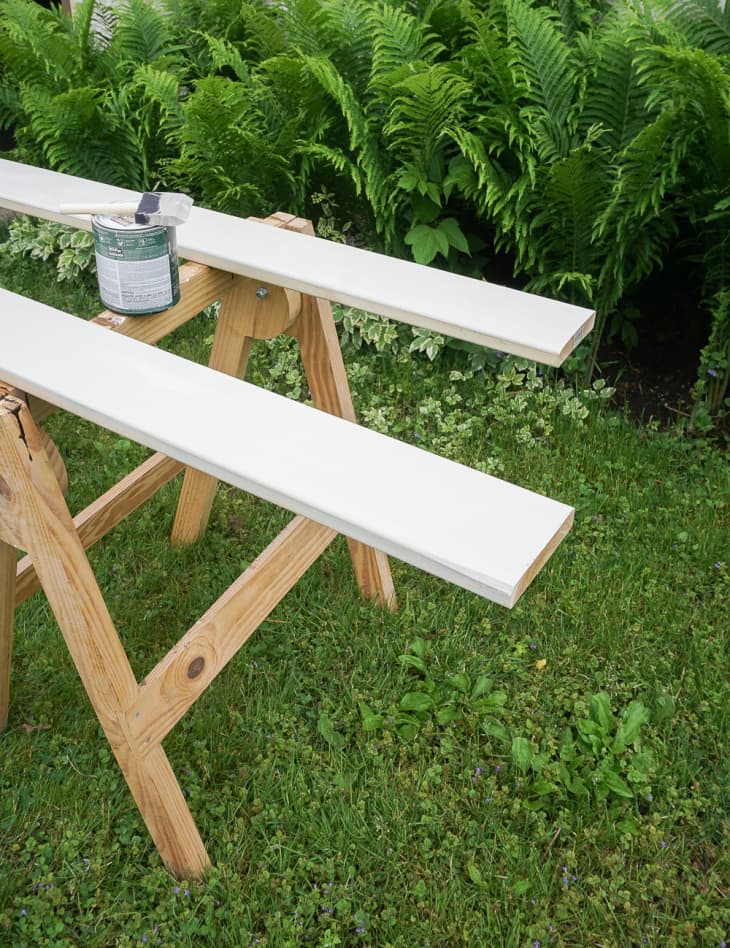
8. At this point, the top of the stoop is complete, and all that’s left is the riser! We painted our riser to match the color of our house, as a way to break up the brown of the stoop top and the patio pavers below. You can either choose to paint treated lumber to match an existing element on your home, or continue with the composite decking for the riser.
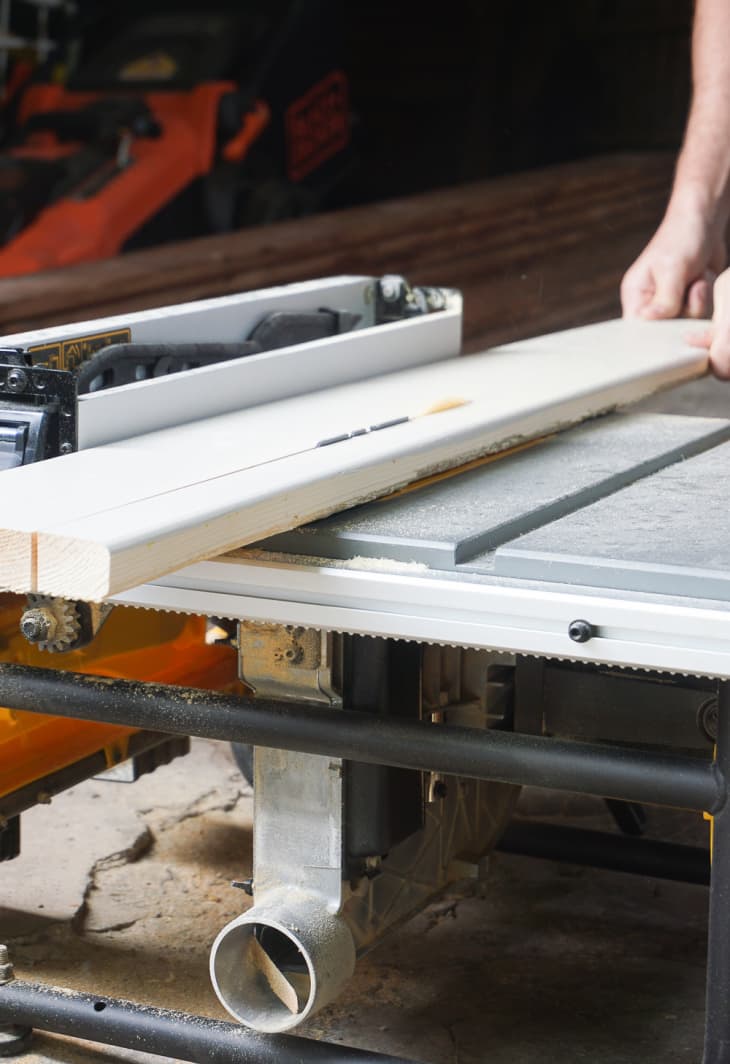
9. Measure and cut the length of the riser front and sides with a mitre or circular saw. Then measure the rise or height of your step, and use a table saw to rip the width of the board to fit underneath the top.
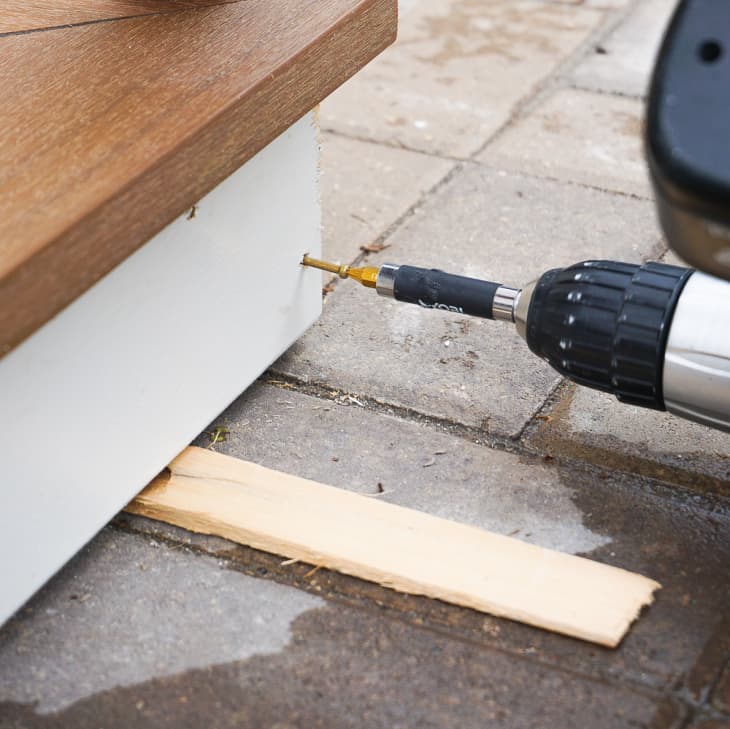
10. Shim the front and side risers into place and attach to the stoop framing with 2” trim head galvanized screws. We chose not to mitre cut the riser boards, so last but not least, we touched up the exposed cut ends on the front riser board with a bit of paint.
Have a really great DIY project or tutorial that you want to share with others? Let us know! We love checking out what you’re making these days, and learning from our readers. When you’re ready, click here to submit your project and photos.