

If there's one overlooked spot in your house, it's your garage.
A garage takes a beating over the years, with cars, tools, toys, and people going in and out frequently. From spills to skids to cracks, a garage floor does not always hold up over time.
Epoxy is a great solution for adding years of life to your concrete floors. But for those who are new to the home improvement game, epoxy may seem like an intimidating project to take on.
That's why we've come up with our best tips and tricks for putting epoxy on your garage floor and how to make it last for years to come.
Start With the Right Epoxy
The trick with applying epoxy to garage flooring is to ensure you have the right epoxy for your needs. There are several varieties of epoxy on the market. All have different applications.
So how do you figure out which one is right for your situation? Narrow your selection down by first considering your needs.
1. Budget
There are a variety of price points when it comes to epoxy. Price point is often indicative of the quality of results you will experience with a do-it-yourself epoxy kit.
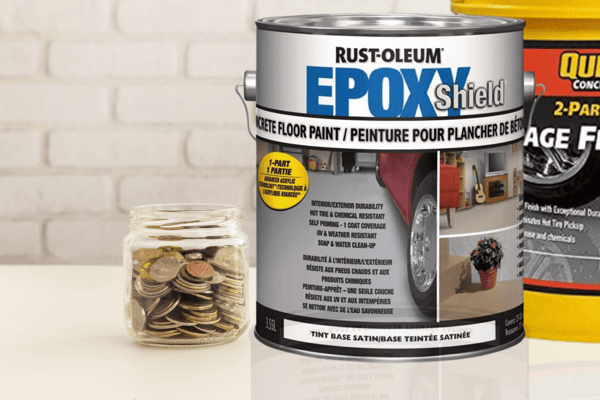
Rust-Oleum and Quikrete are well-known brands with rich reputations.
2. Application
Depending on the desired finish of your floor, different epoxy kits can offer different results.
The thicker, more sticky a product, the glossier the results. Thinner coatings will be easier to apply, but likely won't result in as shiny of a finish.

3. Appearance
Epoxy colors are limited, but there are still plenty of options.
Clear epoxy adds a great shine to concrete flooring. Colored epoxies can be modified with the addition of chips, little pieces of color that dry into the epoxy itself.
Shop around to view some options before you settle on a color.
4. Durability
As you may have guessed, since epoxy is thicker and a little trickier to apply, it tends to protect you concrete floor better and for a longer length of time.
Rust-Oleum's epoxy kit claims resistance to damaging aspects that can seriously affect your garage floor, such as salt corrosion, gasoline spills, or other common instances.
This is a great attribute for busy garages that are prone to spills.
5. Maintenance
Of course, everyone wants to know how to take care of their new garage floors.
While soap and water work just fine on concrete floors, soap can cloud an epoxy finish. You'll need to stick to soap-free formulas specially designed for epoxy floors.

Prepare for Epoxy
If you've settled on epoxy, congratulations! You've taken the first step in your floor refinishing project.
There are several steps involved in the epoxy process for concrete floors.

1. Evaluate the Floors
Take a good look at your garage floors before you begin. You will want to identify any areas that need to be repaired, ground down with a concrete grinder, or scrubbed with degreaser.
You will also want to check for moisture, as moisture can seriously interfere with epoxy application.
2. Consider the Season
Your garage flooring, at a minimum, must be at a temperature of 50 degrees Fahrenheit for epoxy to adhere correctly. When planning your project, take a look at the forecast and avoid any days that do not hit 60 degrees or higher.
You will also want to consider a nice, dry day, to allow for speedier drying times.
3. Grind Concrete if Necessary
Plenty of garage floors are poured and left rather rough. If your concrete flooring has rough spots, it may be worth the investment of renting a concrete grinder to eliminate those rough patches.
4. Patch Cracks
If there are any cracks in your garage floor, you will want to make sure those are patched and dried before applying epoxy. Taking the time to ensure a nice smooth base for epoxy will reflect nicely on your final results.
5. Scrub Your Floors
Once all cracks are repaired and rough spots are smoothed, it's time to clean those floors. Sweep and wash the garage floor and allow it to dry thoroughly before starting the epoxy process.
Check out our blog for some of the best concrete floor cleaning techniques.
Start Application
Applying epoxy takes a little bit of skill and a lot of patience. After all your preliminary steps have been completed, plan for a few hours of work time.
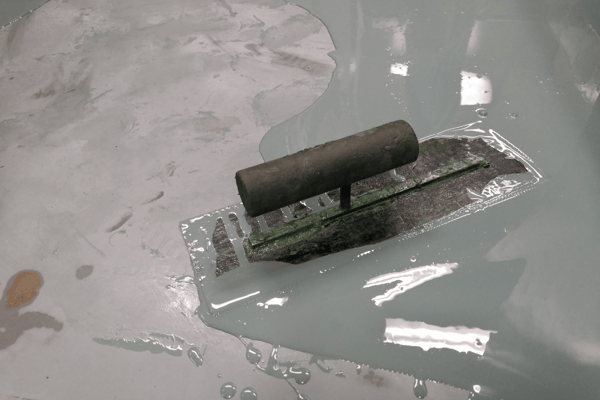
1. Mix Parts 1 and 2
Your epoxy will come with two parts, and it is absolutely necessary to mix both as instructed and wait for the correct reaction time. Mix both parts according to your instructions and allow the mixture to rest until it is activated.
2. Cut in on Edges
You'll want to tape off the edges around your floor before you start painting. This makes the application process much easier, and so does cutting in before you begin rolling the epoxy.
Take the time to paint in the edges before you start rolling. It will be much easier to roll sections quickly if the edges are already done.
3. Roll in Sections
When you begin to apply epoxy, do so slowly and with intention. The porous nature of concrete will soak up some of the epoxy, so you'll want it to be laid down nice and thick.
Also make sure to plan for your escape, as the floor will need to dry for at least 24 hours.
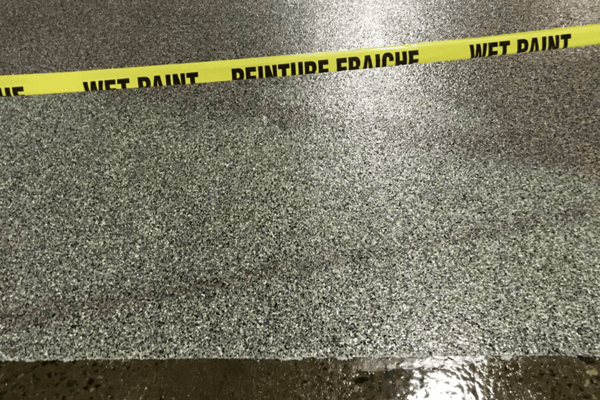
4. Apply Flakes if Applicable
Adding color flakes to your floor? Do so sparingly right after you've rolled a section.
Let it Cure
Epoxy will need at least 24 full hours to cure and dry before light foot traffic enters the picture. It will need a minimum of 3 days to dry before you can drive anything over its surface.
Once you've finished your epoxy project, plan accordingly to allow your hard work to dry correctly!
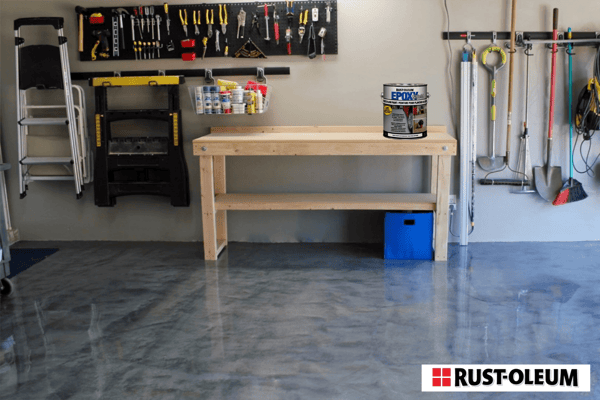
When your floor is nice and dry, you'll find yourself with a clean, tidy garage floor that's damage resistant and will last for years.
OnFloor Technologies for Your Concrete Needs
For all your garage flooring needs, Onfloor Technologies has got you covered.
From grinders and tools to a great blog, our experts invite you to contact us with any of your questions before you start your next big project.

Connect with us
Recent Posts

WANT 10% OFF YOUR FIRST ORDER?

0 comments